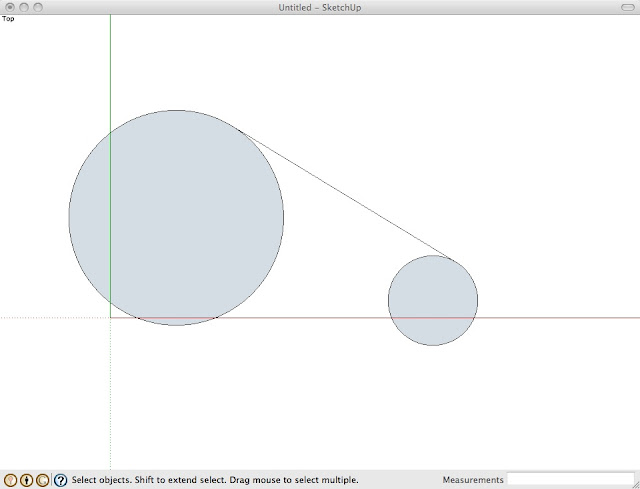
So, I use Google's Sketchup on an almost daily basis, and compared to Auto Cad, it definitely lacks some features. But over the years I have developed some techniques to help get around it's surprisingly simplistic interface.
If you haven't already watched my video check it out:
it goes through it all step by really fast step.
I'll show you two trick with circles, how to create tangent lines off of, and how to create a circle from 3 points. As you probably know, Sketchup only allows you to specify centerpoint and radius. By default sketchup uses 24 sides/ points to draw the circle, but you can type in any value for more precision. I like using 100 or 360.
ok, so on to tangent lines, let's say we want to connect two circles for
a v-belt for a pulley or something create two circles and group them
together
draw a line between the centers of each circles and use the center of that line to draw a circle of the same diameter. then move a copy of the smaller circle to the top of the larger. the center of the smaller should be at the top point of the larger. note that if you are connecting circles of the same size it kinda messes up the whole process. simply draw a line out perpendicular from the connecting line and copy the connecting line to where the perpendicular one and the circle cross...
draw a circle from the center of the larger to touch the bottom of the smaller copy. then draw a line from the same center through the crossing of the newest circle and the one we drew in the previous picture. then draw the line that is blue in this picture.
now copy the blue line up to where that line crosses the larger circle.
and we're done! fairly straight forward once you do it several times. I know I kinda breezed through all this, let me know if you need any of it explained better...


No comments:
Post a Comment